Author:

I have been battling with the problem of attaching my VS Code Debugger on specific containers inside my docker-compose file for the last three months. This article is based on my personal experience working on multiple projects with NEST.js and FastAPI.
The article will cover the setup of the docker-compose file, how to write the VS Code configuration to listen on the debugging ports that are exposed and how you can use it to improve your developer experience on your project.
The full code for both examples is available on my Github Repo.
Last few months I've been battling my way through console logs in Nest.js, where my application was running inside the container, and the only way that I could debug was through logging everything through the console.
As the project grew in complexity and unexpected bugs occurred, I needed to find a way around this problem, and to somehow attach the VS Code Debugger to a running container instance.
When you start a project as a developer, you need to ensure that the developer experience is on point, that all the tools that are being used are functioning correctly, and are used to their full extent.
I was setting up a project in Python that would use FastAPI as the backend, and PostgreSQL as its database. I could start developing the application without immediately containerizing it, and develop it on my local environment, but it would give me headache in the future, and it would be a horror to set it up on someone else's machine.
I opted to set it up right away, to ensure that the setup process on other machines is as painless as possible, and to make the developer experience better.
This gave me an idea: to implement this solution on all the projects that I currently worked on.
I will start with FastAPI implementation first; and if you are not interested in this, you can jump ahead and read the Nest.js implementation.
If you want to follow the tutorial you can clone the repository from GitHub.
In the embedded link above you can find the full code that will be explained in this section. This section will be divided into the following sections:
  FROM python:3.8.10

  WORKDIR /app

  COPY ./requirements.txt ./

  RUN pip install --no-cache-dir --upgrade -r ./requirements.txt

  COPY . /app
As our example, we use a simplified version of the Dockerfile, because our application is just a simple endpoint that returns some static data, but if your application is larger you can consult the official FastAPI website, where they go in detail about the Dockerfile.
We will name this file docker-compose.debug.yaml, to distinguish it from the main docker-compose file.
  version: '3.9'
  services:
    postgres:
      container_name: postgres
      image: postgres:latest
      env_file: docker.env
      networks:
        - local-network
    api:
      container_name: api
      build:
        context: .
        dockerfile: Dockerfile
      env_file: docker.env
      ports:
        - 8000:8000
        - 5678:5678
      networks:
        - local-network
      volumes:
        - .:/app
        - postgres_data:/var/lib/postgresql/data
      command: ["sh", "-c", "pip install debugpy -t /tmp && python /tmp/debugpy --wait-for-client --listen 0.0.0.0:5678 -m uvicorn src.main:app --host 0.0.0.0 --port 8000 --reload"]
  volumes:
    postgres_data:
      driver: local
  networks:
    local-network:
      name: local-network
Inside of this compose file we defined multiple things that we will go over, to fully understand what is going on behind the scenes.
The first top level property is the version in which we define the version of compose that we want to use, you can read more about it here.
Now we get to the our services part, where we define all the services that compose will build when we tell it to do so. Here is our application named under the property api, but I also threw in postgres so we can have a database for future use.
  build:
    context: .
    dockerfile: Dockerfile
The main thing here is api, where we define the build dictionary to specify the name of the Dockerfile, and the folder from where to take the application files.
We also specify the .env file under env_file property, where our secrets are located and the ports that are exposed from the container, these will be the most important part of the configuration.
After that, we specify the virtual network where our services will be deployed, and we continue to our volumes:
  volumes:
    - .:/app
Under the first element we map out our working directory to our remote container directory, this step enables compose to map every change on our local environment to the remote container, and when we enable hot-reload the changes will automatically be applied.
Now to the main part of the api service; the command:
"sh", "-c", "pip install debugpy -t /tmp && python /tmp/debugpy --wait-for-client --listen 0.0.0.0:5678 -m uvicorn src.main:app --host 0.0.0.0 --port 8000 --reload"
We install the debugpy package to enable debugging for python, with the flag — wait-for-client we instruct debugpy to wait before attaching itself until the client, in our case - uvicorn, has started up.
After uvicorn has started up, we attach debugpy to the second exposed port 5678.
Now that everything regarding the compose file is configured, lets configure VS Code.
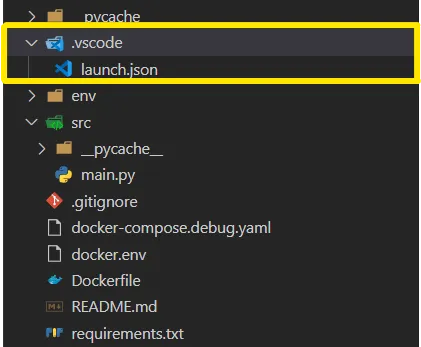
Create a folder in your top level directory called .vscode, and in there create a file called launch.json. Make sure that the file contains the following code:
  {
    "version": "0.2.0",
    "configurations": [
      {
        "name": "Python: Remote Attach to FastApi",
        "type": "python",
        "request": "attach",
        "port": 5678,
        "host": "localhost",
        "pathMappings": [
          {
            "localRoot": "${workspaceFolder}",
            "remoteRoot": "/app"
          }
        ]
      }
    ]
  }
In the configuration object we specify to VS Code that we want to attach to an existing process on localhost, port 5678. We also specify the path mappings that are identical to volumes array in the api service.
.:/app
The localRoot of pathMappings is the equivalent of the . in the first element of the volumes, which specifies, as the name suggests, the workspace folder where our application is located on our local environment.
The remoteRoot is the path to the folder on the remote container. In the compose file it represents the /app path.
Now that we have specified the configuration, let's run our compose and attach to the process.
To run compose, type in the following command:
docker-compose -f "docker-compose.debug.yaml" up --build
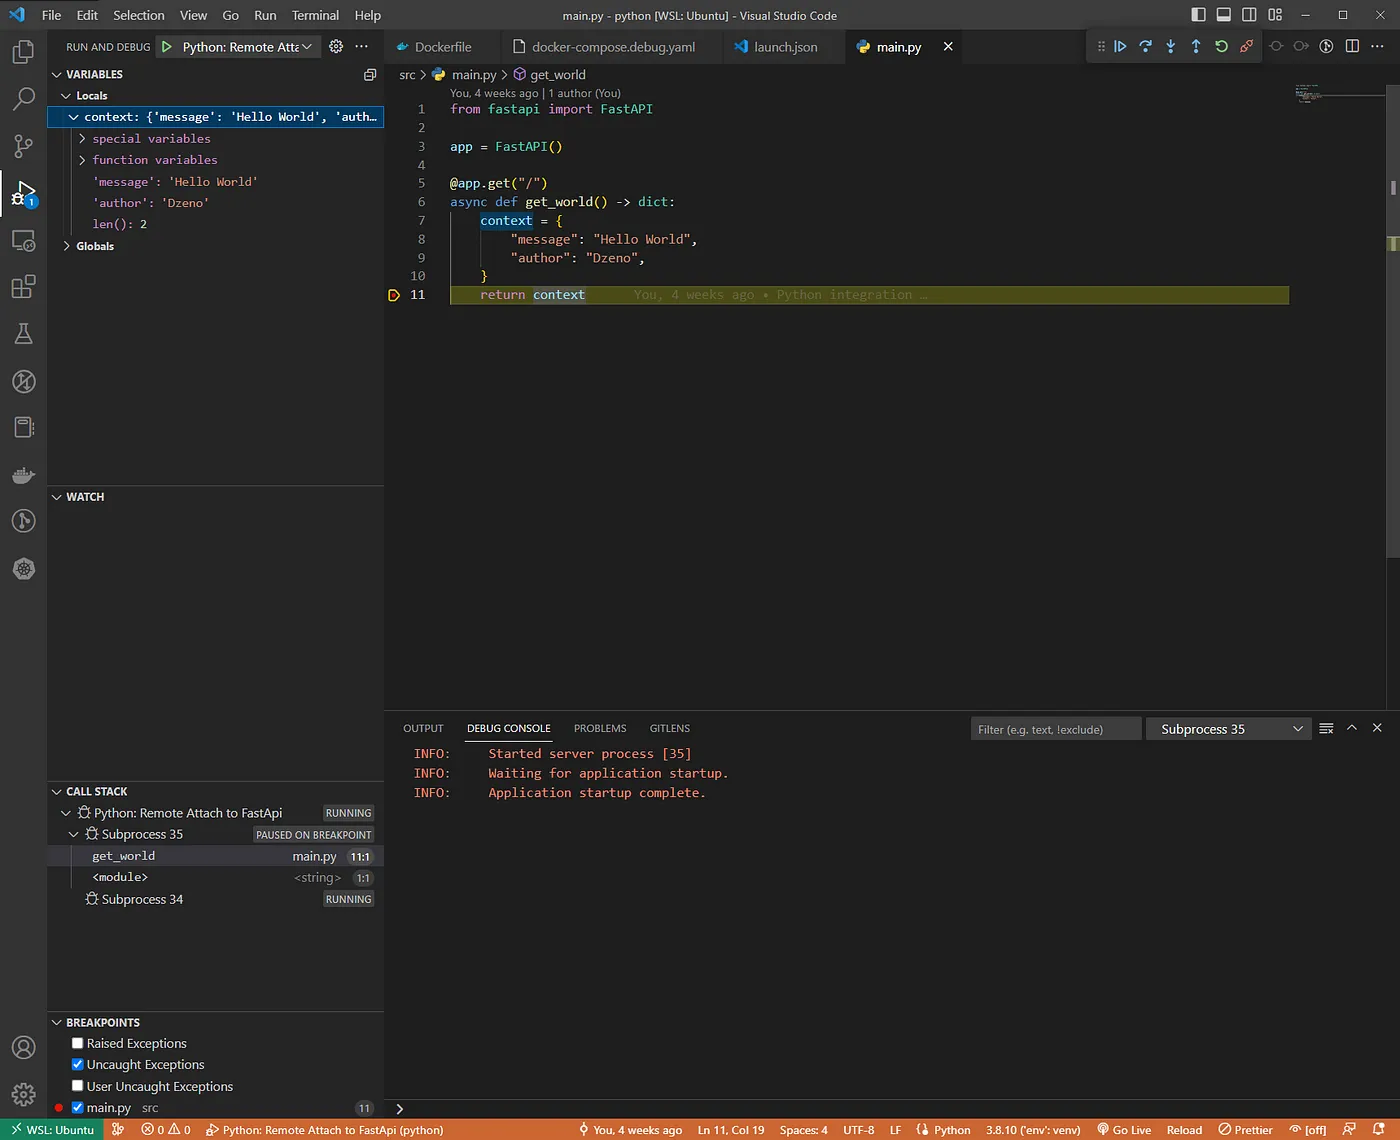
After the application has been built, go to VS Code and hit F5 to attach the VS Code Debugger. Now add a break point and try to access your application on the port http://localhost:8000.
The code for the Nest.js integration is available at this link.
This process will be similar to the one that we did with FastAPI. The difference here is that nest.js (node.js) comes with its debugger, so we don't need to install any additional packages to attach VS Code Debugger.
We will be following the same structure as we did with FastAPI:
When it comes to dockerizing the nest application, I didn't bother too much about the Dockerfile and its structure, because the focus of this article is to showcase the integration of VS Code Debugger and docker-compose.
  FROM node:19.6.0

  WORKDIR /app

  COPY . .

  RUN yarn build
As you can see: it's a simple Dockerfile that builds the application.
As with compose, it's almost the same as the one for Python, with few minor tweaks; which I will discuss after you see the code:
  version: '3.9'
  services:
    postgres:
      container_name: postgres
      image: postgres:latest
      env_file: docker.env
      networks:
        - local-network
    api:
      container_name: api
      build:
        context: .
        dockerfile: Dockerfile
      env_file: docker.env
      networks:
        - local-network
      volumes:
        - /app/node_modules
        - .:/app
        - postgres_data:/var/lib/postgresql/data
      ports:
        - 3000:3000
        - 9229:9229
      command: yarn start:debug
    volumes:
      postgres_data:
        driver: local
    networks:
       local-network:
          name: local-network
As with the previous tutorial we specify two services: postgres and api; which can serve us in the future when we want to store some data in the database.
  build:
    context: .
    dockerfile: Dockerfile
The api service is of particular interest to us, where we specified the way we want to build our Dockerfile and the folder from which we want to take the files (context).
  volumes:
    - /app/node_modules
    - .:/app
The volumes array for nestjs is different to the one in FastAPI, because we have the node_modules. This folder is ignored in the volumes array of the compose file, because we already have them when we build our image and start our container.
The second element in the volumes folder will enable us to replicate the changes on our local environment to the container, and when we configure the "to launch command"; it will have hot reload on the container.
  volumes:
    - /app/node_modules
    - .:/app
To run our application in compose, we need to adjust the command for running the application in debug mode. Go into your package.json, and under the object scripts find the command “start:debug”, and adjust it like you see it in the code snippet above.
In the code snippet above, we tell nest to run the application with the debug mode on and expose the inspector on port 9229 on localhost, also we added the flag --watch for hot reload.
  ports:
    - 3000:3000
    - 9229:9229
  command: yarn start:debug
And at last we expose two ports to the container; one to access the application through the web browser, and one to access it through the inspector.
At the end we run the application with the command that we created in package.json.
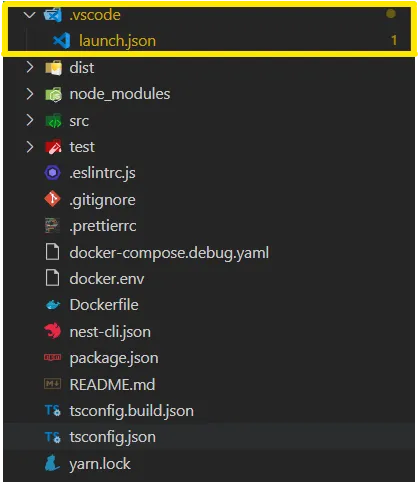
At the top level of the project we create the .vscode folder with the launch.json file, where we will add our VS Code configuration for running the debugger.
  {
    "version": "0.2.0",
    "configurations": [
      {
        "type": "node",
        "request": "attach",
        "name": "Docker: Attach to Nest",
        "protocol": "inspector",
        "address": "localhost",
        "port": 9229,
        "sourceMaps": true,
        "restart": true,
        "localRoot": "${workspaceFolder}",
        "remoteRoot": "/app",
        "skipFiles": ["<node_internals>/**"]
      }
    ]
  }
Inside the object we specify the type of the application we are running, and the way we want to gain access to the debug port. In our case: we attach ourselves to localhost on port 9229 with the protocol of inspector.
Then we proceed to add sourceMaps to true and to map our local environment to the environment that is running inside of the container.
When the application hot-reloads on change we also want to reattach our debugger to nest because it will lose connection once it reloads.
The same way we did run our Python compose file we run it here also.
Now that we have specified the configuration, let's run our compose, and attach to the process.
To run compose type in the following command:
docker-compose -f "docker-compose.debug.yaml" up --build
After the application has been built, go to VS Code and hit F5 to attach the VS Code Debugger. Now add a break point and try to access your application on the port http://localhost:3000.
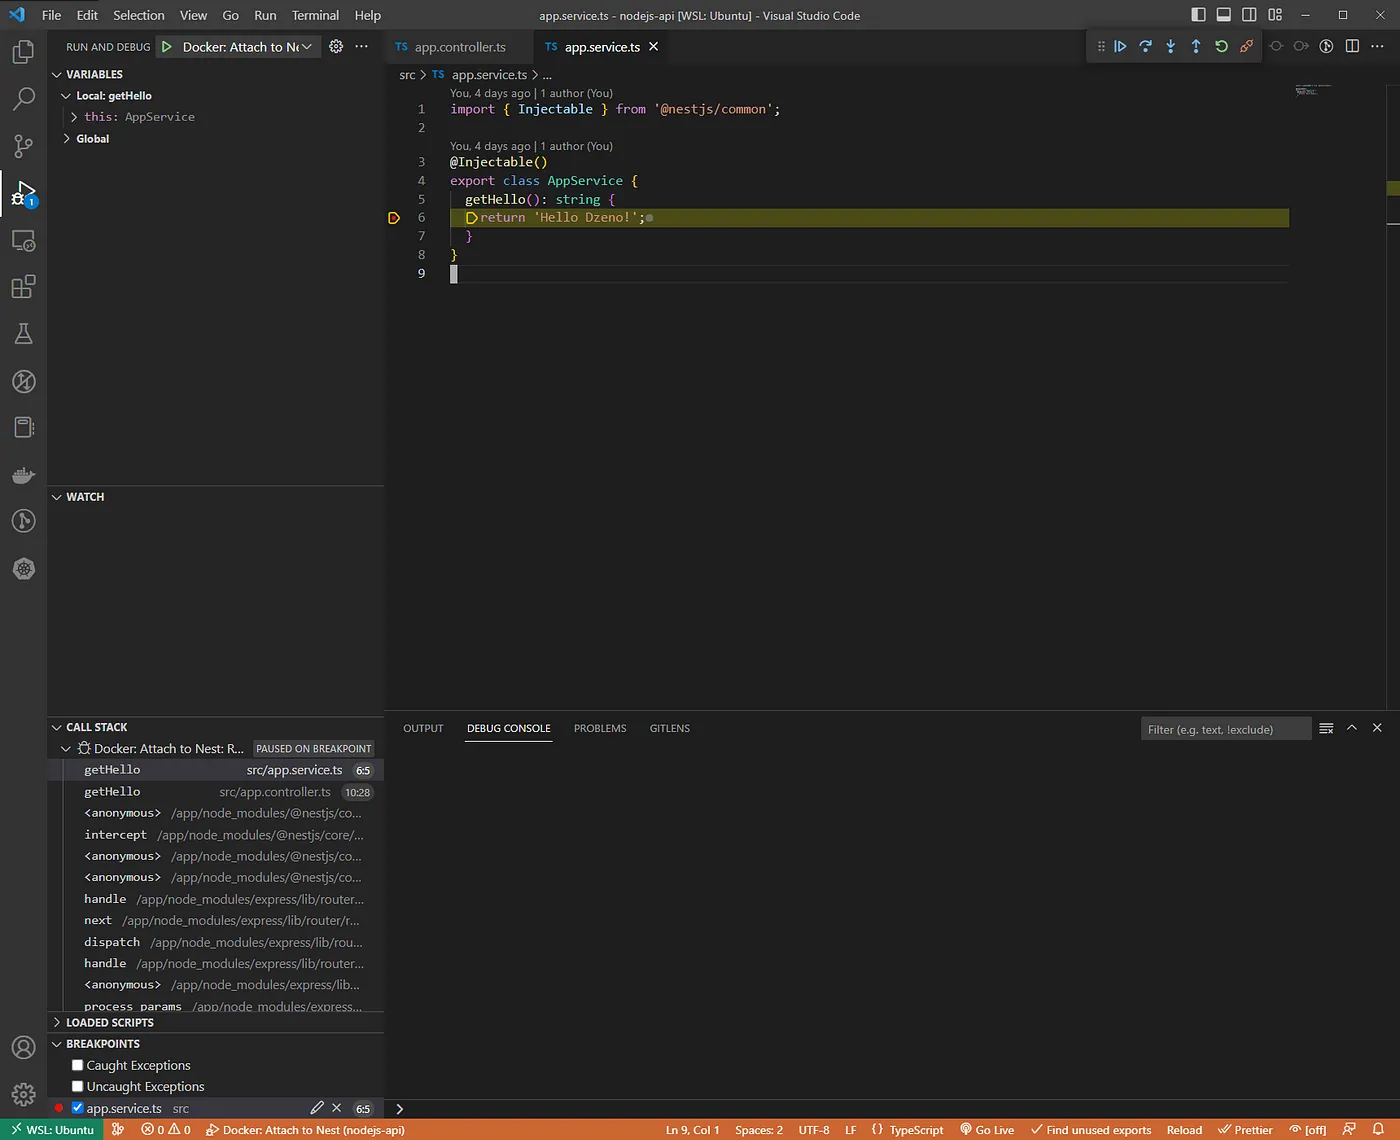 Execution hits the breakpoint in VS Code
Author: